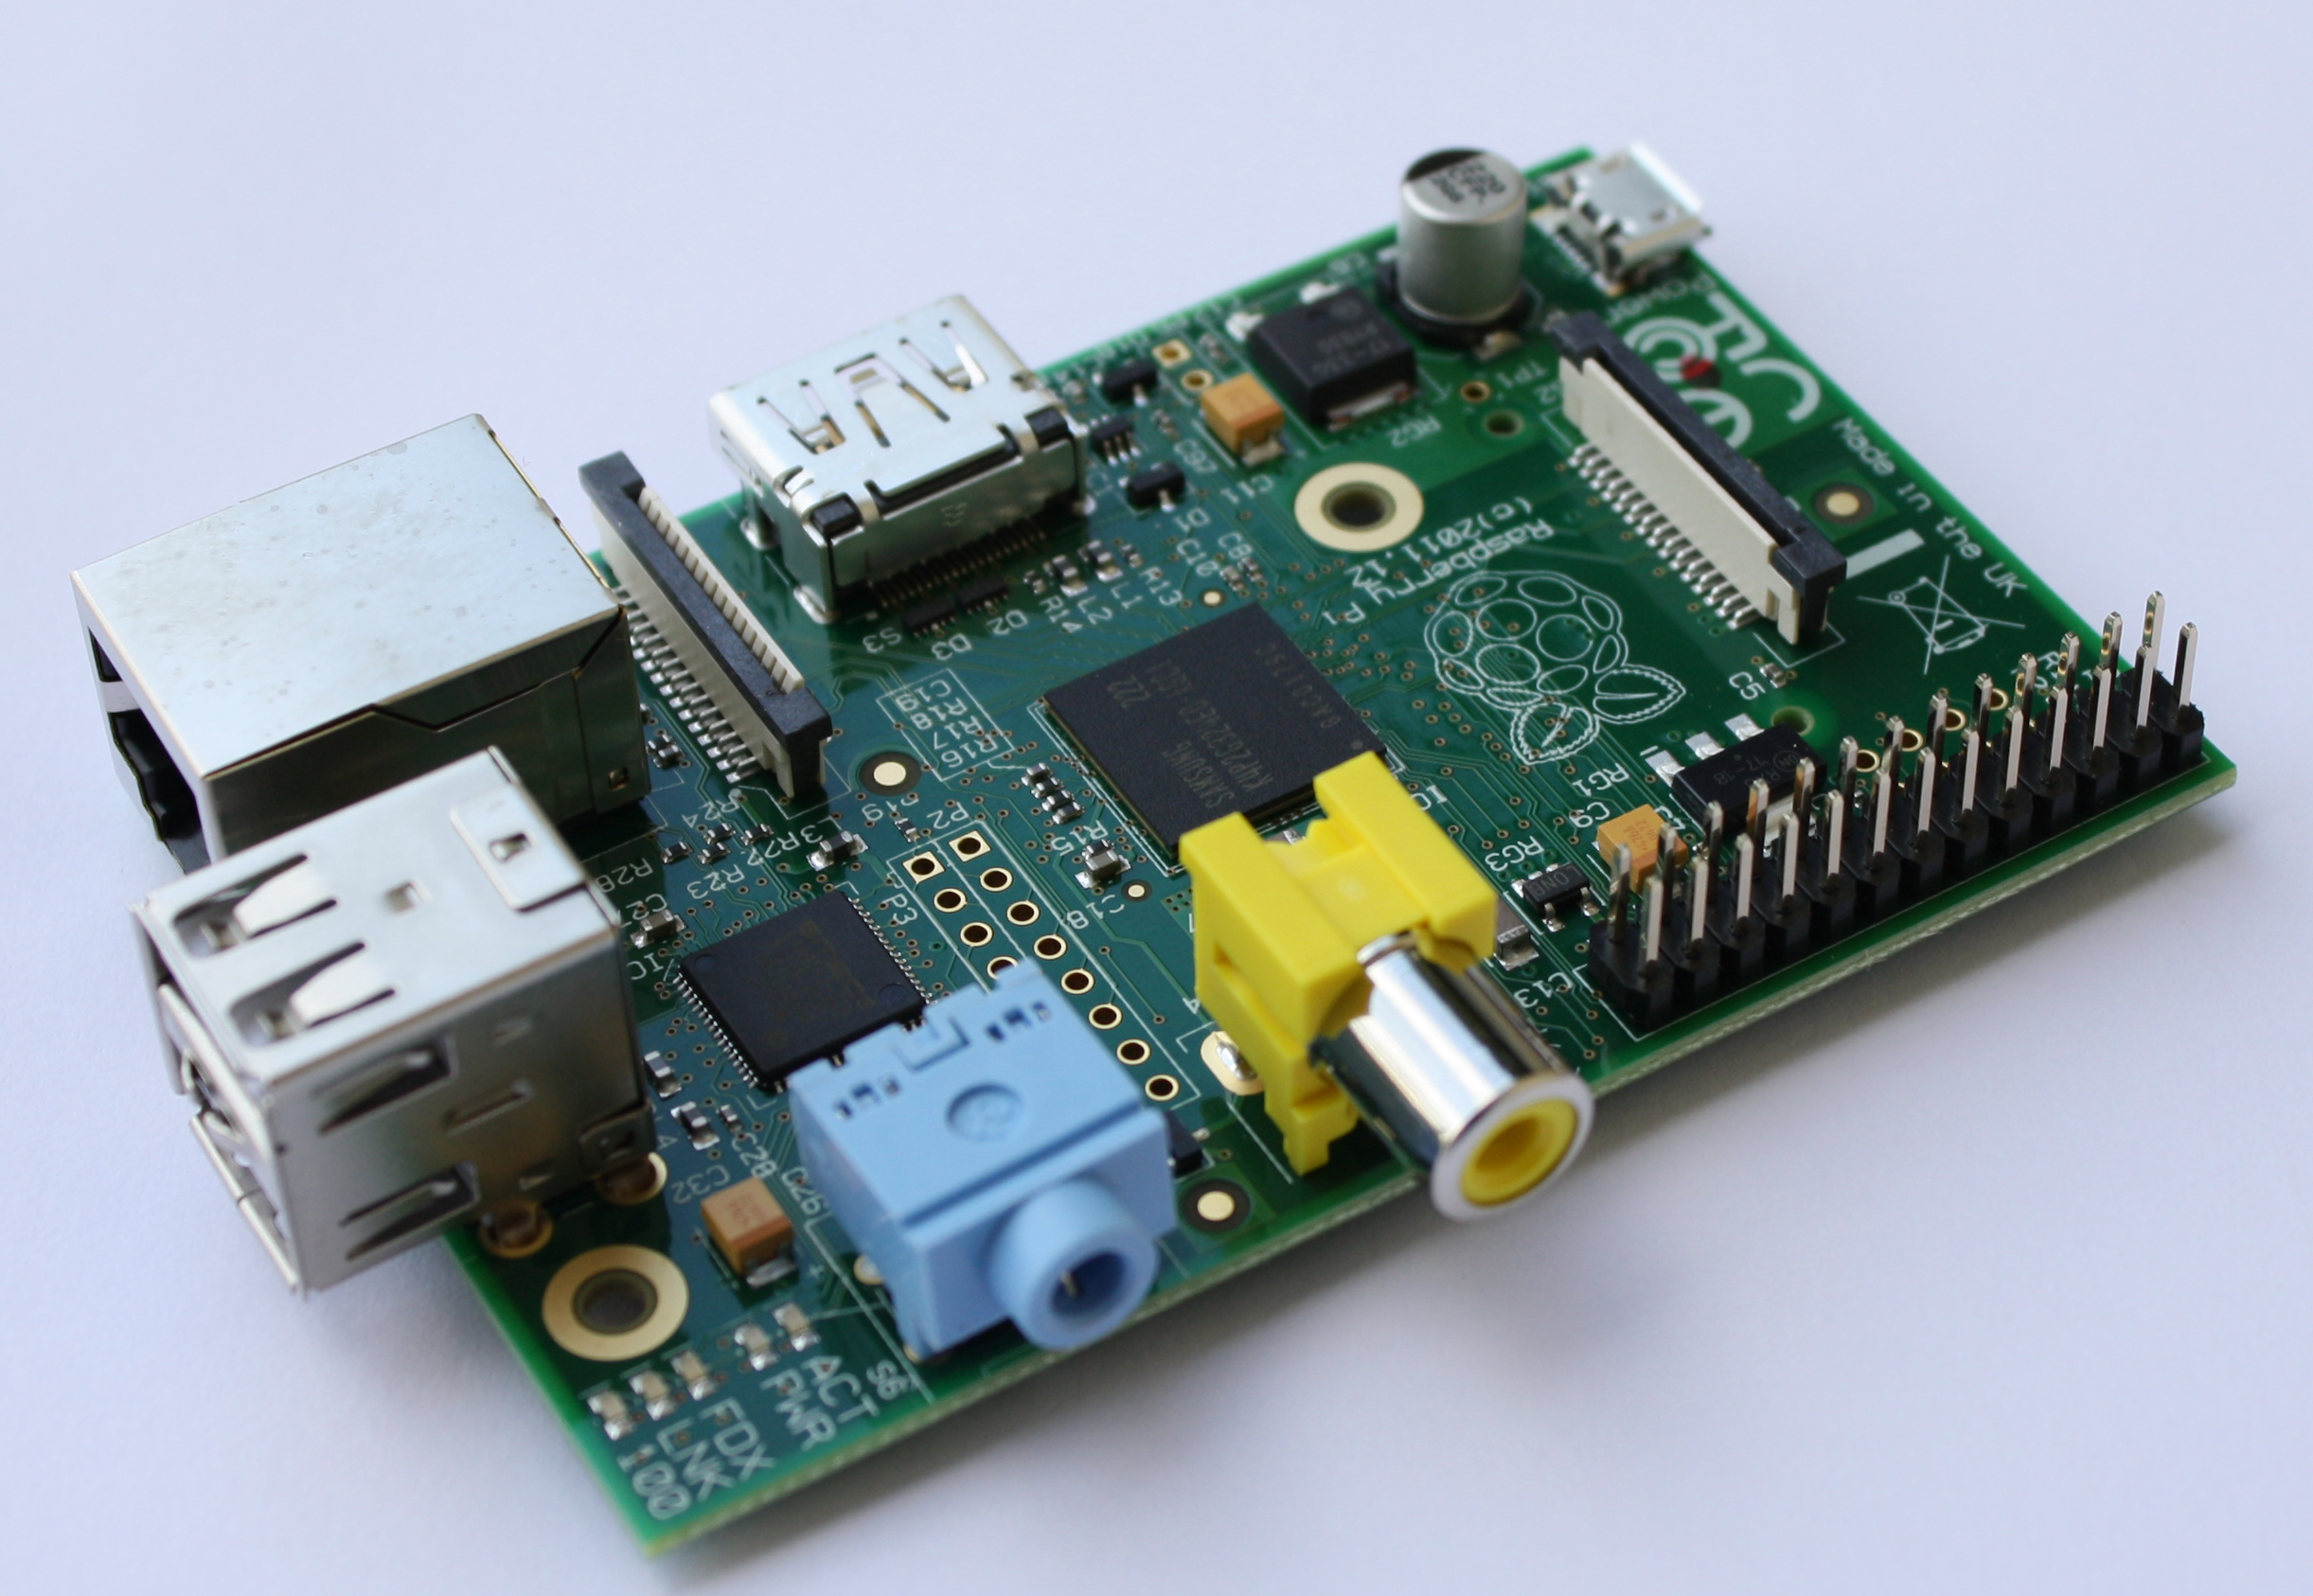
viernes 6 de enero de 2012

Como hice los ojos de HeinyBot?

En esta composición, se puede ver como está construido cada uno de los dos ojos que equipa HeinyBot. La relación de piezas empleada para dicha construción:
- Bola de plástico transparente (de las que llevan pequeños juguetes para niños en su interior).
- Perfil de aluminio de 100 mm de largo x 10 mm de ancho.
- 2 micro servos de 9gr como los de la foto.
- 2  separadores hexagonales hembra/hembra M3.
- Un pequeño cilindro de aluminio para hacer el eje (de 14 mm longitud).
- Dos pequeñas bridas para sugetar los servos.
- 2 tuercas con freno para el eje M3.
- 2 tornillos M3 para fijacion del ojo (semiesfera de plástico).
... conociendo los materiales y viendo las fotos no creo que tengas muchas dificultades para montar un par de ojos robóticos como estos. :-)

Salud2!!!!

In this composition, you can see how it is constructed each of the two eyes HeinyBot equipped. The list of parts used for this construction:
- Clear plastic ball (of which carry small children's toys inside).
- Aluminum profile 100 mm long x 10 mm wide.
- 2 micro servos 9gr like the photo.
- 2 hexagonal spacers female / female M3.
- A small aluminum cylinder to the shaft (14 mm length).
- Two small clamps to attach the servos.
- 2 nuts M3 brake shaft.
- 2 M3 screws for fixation of the eye (plastic hemisphere).
... knowing the material and seeing the photos do not think you have many difficulties to mount a pair of robotic eyes like these. :-)

 Regards!!!!

-

miércoles 4 de enero de 2012

Traje Nuevo para HeinyBot

Pues eso. Os presento la nueva indumentaria de camarero de HeinyBot. Esta vez, la pajarita no es pintada es de verdad, al igual que las solapas de la chaqueta y los botones de la camisa. Ya subiré fotos del Bot vestido y vereis como está muy "wapo".

I present the new clothing HeinyBot waiter. This time, the tie is not really painted, like the lapels of his jacket and shirt buttons. In a few days i´ll upload photos of the robot with the new suit and you will see as it is very cool.

Driver para Motores de HeinyBot

En esta ocasión no me he querido complicarme la vida en el tema de los motores. En e-bay, por no llega a 10€ (todo incluido) tienes un driver como este basado en el L-298. No es que el que hice yo no funcionara, todo lo contrario, pero no tenía ganas de repetir algo tan generíco y fácil de conseguir como esto, además las dimensiones de la placa con casi iguales a las demás placas. Además este driver es configurable mediante "jumpers" para ser usado en motores PaP.


On this occasion I did not want complications, I wanted something simple to resolve the issue of the engines. In e-bay, not to reach 10 $ (all inclusive) have a driver like this, based on the L-298. The driver of the older version worked fine but did not want to repeat something as generic and easy to get like this, well, the dimensions of the board are almost the same as the other boards. Also this driver is configurable using "jumpers" for use in engines PaP.

Fuente de Alimentación para HeinyBot

 Que no actualice el blog no significa que no esté trabajando en HeinyBot, simplemente no encuentro el tiempo para hacer fotos y sentarme a poner todo esto al día. Bueno, al lío. Ya he terminado la pequeña fuente que alimemtará el bot. A partir de los 11,1V de la batería de LI-PO tendré 6V para los servos y 5V para la lógica del driver de motores. Las demás placas ya llevan su regulación de 5V a partir de los 11,1V ya que no quería tener problemas como en la versión anterior y de paso esto me ha permitido quitar cables. En esta nueva versión de HeinyBot he rediseñado toda la electrónica y las dos placas principales están hechas en smd 1206 para ahorrar espacio (en la primera versión los componentes eran dip y las placas demasiado grandes).  Proximamente colgaré alguna foto de estas placas.
Esta fuente, al igual que en la versión anterior, va a ir sugeta a la parte trasera del Bot, en el exterior del mismo.

Do not update the blog does not mean it is not working on HeinyBot, just do not find the time to sit and take pictures and put all this in order. I've finished the little sources that feed the bot. With lipo beteria of 11.1 V, take the servo and 6v to 5v for the logic engine driver. The other boards already carry the regulation of 5V from the 11.1 v and did not want to have problems like the previous version and also this has allowed me to remove cables. In this new version of HeinyBot I have done all the electronics again and the two major boards are made in 1206 smd to save space (in the first version dip components and the boards were too big). Soon I will put a picture of these boards.
This source, as in the previous version, will be caught at the back of the Bot on the outside of it.

lunes 7 de noviembre de 2011

Mando a distancia para Bots: Esquema y Código.

Debido a que este proyecto había nacido bajo la filosofia del "pensat i fet" (pensado y hecho) no poseía documentación sobre esquemas, placas, etc... (está todo lápiz y papel y en mi cabeza), pero me he puesto las pilas, y ayer domingo pasé un rato con el Eagle y dibujé deprisa y corriendo algo que sirva de apoyo a cualquiera que quiera montar uno como éste. Faltan algunos detalles como las conexiones de los espadines de los joysticks, pero....creo que valdrá.

 Aquí teneis el enlace del esquema

Aquí teneis el código en Mikrobasic Pro


Saludos ;-)

Because this project was born under the philosophy of "pensat i fet" (thinking and doing) did not have documentation schemes, plates, etc ... (it's all pencil and paper and in my head), but I put the batteries, and Sunday I spent some time with the Eagle and hastily drew something that will support anyone who wants to ride one like this. Missing some details such as sprats connections of the joysticks, but .... I think it will do.

 Here's the schematic

Here is the code (in Mikrobasic Pro)

Grettings ;-)

domingo 6 de noviembre de 2011

Mando a Distancia para Bots: Resumen

Visto el interés que ha despertado este proyecto, aquí teneis algunas fotos de su evolución. Dado que me pareció un trabajo tan sencillo, no me tomé la molestia de elaborar un esquema con  Eagle en condiciones, por  lo que ahora no puedo colgarlo. De todas formas, viendo estas fotos os dareis cuenta de que se trata de algo muy sencillo.

Having regard to the interest aroused by this project, here are some photos of their evolution. Since I found a job so simple, I took the trouble to develop a scheme with Eagle in a position, so now I can not hang. Anyway, seeing these pictures you will realize that it is very simple.

Pasamos las dimensiones de la placa original a la placa de topos.We spent the dimensions of the original board to the board of moles

Después de presentar la placa de topos en su sitio marcamos el alojamiento de los interruptores.
After presenting the board of moles in place mark the switch housing


Parte trasera. Como reutilizo la placa de los joystick sueldo unos conectores para unir los joysticks a la placa principal y poderlos demontar con facilidad al hacer las pruebas.
Back. As the plate re pay a joystick connector to connect the joystick to the main board and that they can be easily demonte doing the tests.


Aquí se puede ver la pequeña fuente que adapta los 9V de la bateria a los 5V que usa la lógica. Es un simple 7805 (smd 1206) un diodo (previene inversión de polaridad) y un par de condensadores. Va alojada en el sitio donde había un motor vibrador. En el alojamiento del otro motor vibrador esta montada la XBee serie 1 de la cual sale el cable u.fl que lo conecta con la antena.Here you can see the small font that fits the 9V battery to 5V using logic. It is a simple 7805 (SMD 1206) diode (prevents reverse polarity) and a pair of capacitors. Is housed on the site where a vibrating motor. On the other vibrating motor housing is mounted the XBee Series 1 which leaves U.FL cable that connects it to the antenna.


sábado 22 de octubre de 2011

Mando para Bots III

Por fin lo he terminado. Tan solo queda construir un alojamiento para la bateria de 9V. Por fuera, tiene la apariencia de un mando inalambrico de PS2 (salvo por la antena). Por dentro cambia la electrónica y el sistema de radio que emplea. He aprovechado los joystick y las placas de los botones frontales (L1, L2, R1 y R2) ya que así me he evitado cortar unos nuevos a medida. Al final me ha quedado un mando inalámbrico con 14 botones digitales y 2 joysticks que son capaces de enviar 16 señales diferentes entre los dos (4 señales por eje para progresividad de motores). Todo esto con un simple PIC16F876A y un módulo XBee de 1Mw con un alcance teórico de 30 metros en interiores y 100m en exteriores.
I finally finished. Only accommodation is building a 9V battery. On the outside, looks like a PS2 wireless controller (except for the antenna). For changes in electronics and radio system it employs. I used the joystick and buttons front plates (L1, L2, R1 and R2) and so I avoided as cut some new. In the end I was left with a wireless controller with 14 digital buttons and 2 joysticks that are able to send 16 different signals between the two (4 signals to progressive motor shaft). All this with just a PIC16F876A and a 1MW XBee module with a theoretical range of 30 meters indoors and 100m outdoors.
 

jueves 20 de octubre de 2011

Mando a Distancia para Bots II

Este es el aspecto que tiene ahora el mando. Lo he estado probando con otro XBee conectado al ordenador y pese al aspecto chapucero que tiene, funciona bastante mejor de lo que me esperaba. La XBee que incorpora el mando es un XBee de la serie 1 con conexión U.FL a una antena (sacada de un router wifi ) y que va a ir cogida al cuerpo del mando. La XBee que va a ir en el bot es otra XBee de la serie 1 pero con antena de cable (latiguillo). He codificado el recorrido de los joystics en cinco pasos  (2+1+2) de forma que me sirva para  tener 2 velocidades diferentes en los motores, dependiendo de si empujo el joystick un poco o hasta el final.
This is the aspect that is now over. I've been trying another XBee connected to the computer and despite the sloppy appearance is, it works far better than I expected. The XBee incorporating the command is a XBee Series 1 with U. FL connection to an antenna (taken from a wifi router) and caught going to the body of command. The XBee is going to go on the bot is another XBee Series 1 but with antenna cable (hose). I coded the path of the joystics in five steps (2 +1 +2) so that I may have to have 2 different engine speeds, depending on if I push the joystick a bit or until the end.

lunes 5 de septiembre de 2011

Mando a Distancia para Bots.

De 9V de la pila a 5V con un 7805
Vista lado soldaduras
Conectores de los joysticks (original)
Después de la CPES15 empecé a madurar una idea que poco a poco va tomando forma como podeis ver en la fotos de arriba. Se trata de usar la plataforma de un mando de PS2 y sustituir toda la electrónica adaptándola para que pueda ser usado en cualquier bot o dispositivo que incorpore módulos de radio xbee (en este primer prototipo xbee normales serie 1). Empecé con la intención de realizarlo todo en smd pero he decidido ser práctico, placa de topos y DIP. Si todo sale bien posiblemente me lo replantee. Voy a usar un simple 16F876A que aunque me falte un pin E/S ira bien (el tamaño es ideal y ya estoy familiarizado con este modelo).  Espero continuar subiendo fotos de la evolución del proyecto.
Salud2!!!!
After I started to mature CPES15 an idea that is slowly taking shape as you can see in the pictures above. It is using the platform of a PS2 controller and replace all the electronics can be adapted for use on any device that incorporates bot or module xbee radio (in this first prototype normal xbee series 1). I started with the intention of doing everything in smd but I decided to be practical, moles and dip plate. If all goes well possibly reconsider me. I'll use a simple 16F876A although I miss a pin I / S will do well (the size is perfect and I'm familiar with this model). I hope to continue uploading photos of the evolution of the project.
Grettings!!

martes 19 de julio de 2011

Conferencia Presentación Novedades Arduino


Charla presentación sobre ARDUINO y su nuevo "shield" realizada, nada más y nada menos que por de uno de sus creadores, David Cuartielles. Este "shield" es producto de la colaboración entre Arduino y Telefónica I+D. Se trata de un "shield" con conectividad total GSM/GPRS. Este "shield" (como dicen en CPES15) facilitará a la comunidad Arduino "crear la internet de las cosas". El día siguiente a esta presentación, el mismo David, dirigió "una hackathon" en la cual, los participantes tuvieron 48 horas para construir y documentar en español los proyectos presentados por ellos mismos. Al finalizar, el mejor proyecto de la virtual barcamp recibió dos shield GSM. Aquí el enlace al video. Son 28 minutos pero vale la pena verlo. Al final el propio David hace tres demostraciones en directo del potencial de esta nuevo shield.
Arduino Lecture presentation on its new "shield" made, nothing more and nothing less than one of its creators, David Cuartielles. This "shield" is the product of collaboration between Arduino and Telefónica I + D. This is a "shield" total connectivity GSM / GPRS. This "shield" (as they say in CPES15) provide the Arduino community "to create the Internet of things". The day after this presentation, David himself, led a "hackathon" in which the participants had 48 hours to build and document the projects presented in Spanish by themselves. At the end, the best virtual project received two shield barcamp GSM. Here the link to the video. There are 28 minutes but worth watching. At the end David himself for three live demonstrations of the potential of this new shield.